How to: Calibrate the Basler racer 2 S Camera for Best Color Reproduction#
This article describes how to get the best color results using the Basler racer 2 S color camera and its features. The features used are shading correction, spatial correction and also the color functions of the camera.
-
Set up the camera in a way that you get a free running image from the camera using the intended light setup. The goal is to stop the machine, but still have the camera acquiring images without an external trigger. Make sure to switch off the color improvements from within the pylon Viewer. The reason for switching off the color functions is that this function uses internal gains and offsets which will reduce the quality of the shading correction.
ImageProcessingControl→Color Space: OFF
As a result, the camera shows an unfocused, non-externally triggered image with a homogeneous light setup:
-
Place a white or gray paper in the focus area of the camera. However, make sure that the image is blurred. The resulting camera image should show a bright homogeneous gray image, not over-exposed. There might be some lines inside the image, but not as a sharp line. The blurred image is useful to "ignore" the small structures of the paper.

-
Run the PRNU shading correction based on the existing DSNU correction. One does not necessarily need to do the DSNU shading correction again, as the factory default usually works just fine. For details, see the Basler Product Documentation: Shading Correction.
ImageProcessingControl→Shading Correction Selector: DSNUImageProcessingControl→Shading Correction Mode: Factory
ImageProcessingControl →Shading Correction Selector: PRNUImageProcessingControl→Shading Correction Mode:User
As a result, the image shows a flat homogeneous image:
-
Remove the white/gray background and sharpen the focus. Make sure to have something with a contrast in the camera's field of view.
As a result, you should see some sharp stripes in the image:

-
Change the camera configuration back to triggered acquisition and start image acquisition.
-
(Optional step:) Use the frequency converter to reach the same optical resolution x and y. The goal is to show round shapes as round and not as oval.

-
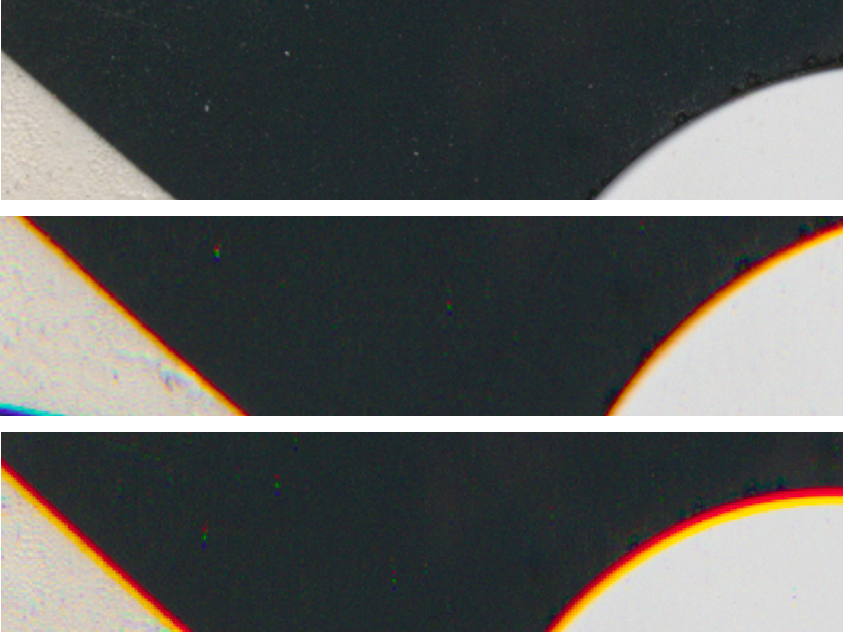
Configure the spatial correction to "on" and change the value so that you have a minimum color shifting.

Additional Information#
Different settings of the spatial correction -2; 0; +2. The parameter has to be set based on the material direction below the camera

Final#
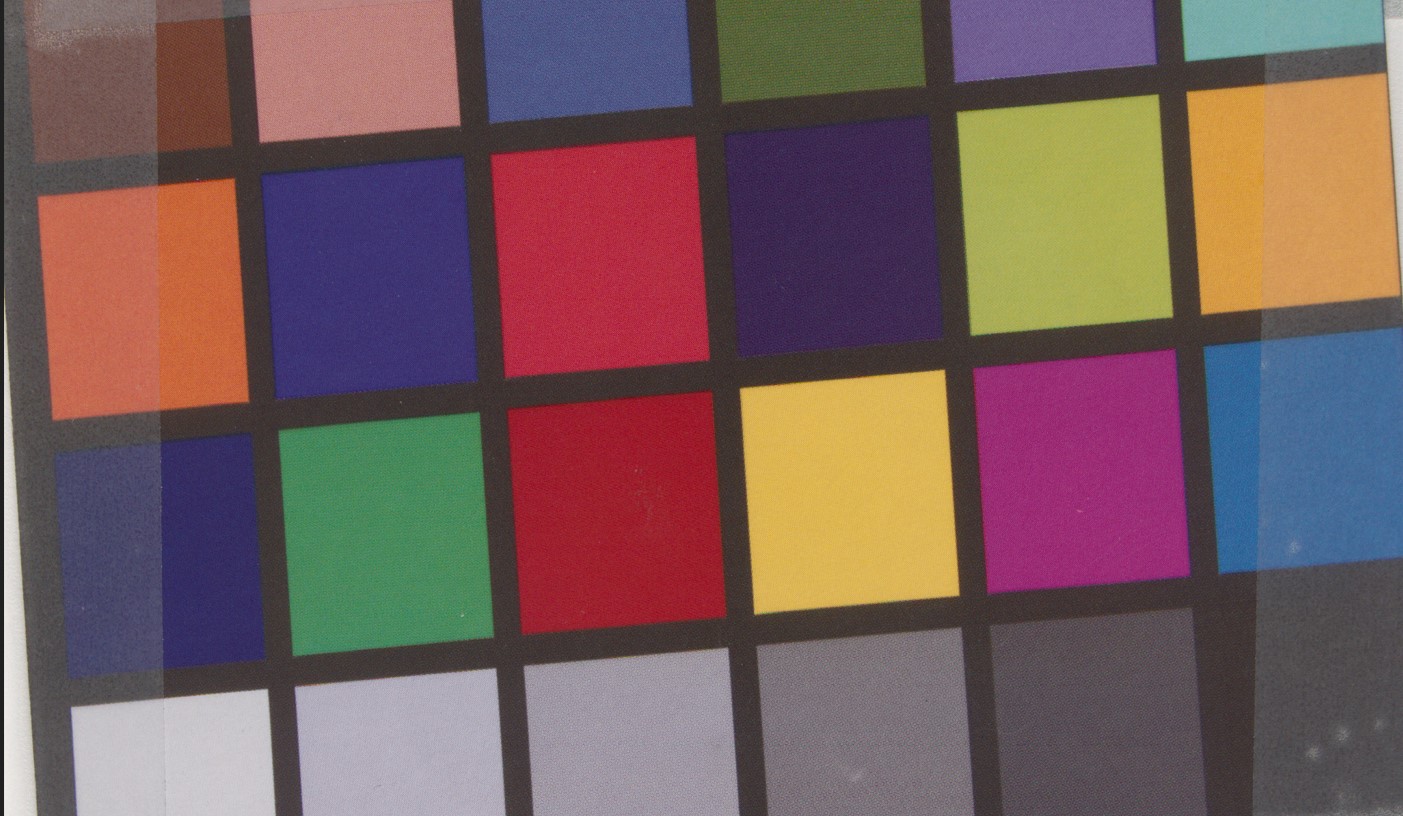
If you need a color-optimized image, switch on the color space and select the proper light source. Maybe you have to run the white balance again. Be aware that the color space uses some non-linear gain/gamma, which increases the noise inside the image.
