Initial System Test (microDisplay X)#
Info
The screenshots in this section show a CXP-12 frame grabber with its applets. However, the basic steps for acquiring an image are the same on all frame grabbers.
Performing a System Test#
To perform a system test:
- Start microDisplay X on your computer.
-
Select the frame grabber you want to work with from the list in the left upper corner.
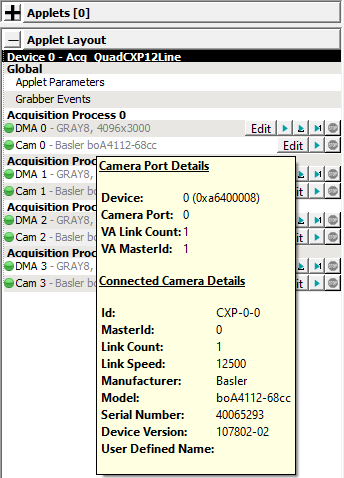
A tool tip provides you with additional information on the frame grabber: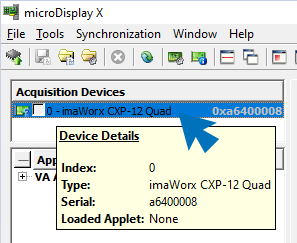
When selecting a frame grabber, a list of applets should appear in the pane below:
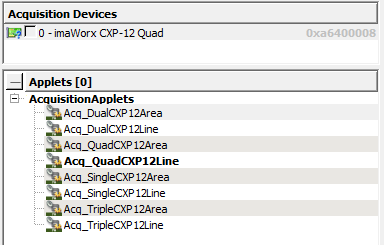
Info
If there are no applets displayed, install the applet set for your frame grabber model on the host computer as described in Managging Applets (microDiagnostics). After installation, select File -> Rescan Applets in microDisplay X.
-
Select an applet out of the applets list.
A tool tip provides you with additional information on each applet: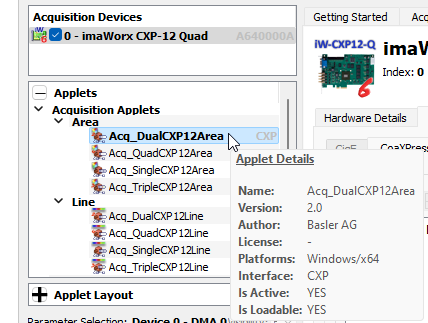
The applet you select must correspond to the connected cameras (number of connected cameras per frame grabber, area or line scan, etc.).
The applet name displayed in bold is the applet that is currently active on the frame grabber.
The applets displayed in black are the applets currently available for the selected frame grabber.
When is an applet available?
- On imaWorx and imaFlex frame grabbers, an applet is available as soon as it is available in the file system of your computer (Framegrabber SDK installation directory, sub-directories DLL or Hardware Applets). If the applet isn't there, run the applet installer that contains the applet you want to use, or, if you need an applet created with VisualApplets, copy the applet file (*.hap) into the Hardware Applets folder of your Framegrabber SDK installation (e.g.,
...\Basler\FramegrabberSDK5.x.x\Hardware Applets\*.hap). - On marathon frame grabbers, an applet is available as soon as it is flashed onto the frame grabber. If the applet you want to use isn't flashed on the frame grabber yet, flash it according to the instructions in Managing Applets (microDiagnostics).
- On imaWorx and imaFlex frame grabbers, an applet is available as soon as it is available in the file system of your computer (Framegrabber SDK installation directory, sub-directories DLL or Hardware Applets). If the applet isn't there, run the applet installer that contains the applet you want to use, or, if you need an applet created with VisualApplets, copy the applet file (*.hap) into the Hardware Applets folder of your Framegrabber SDK installation (e.g.,
-
Double-click on the applet name to load the applet.
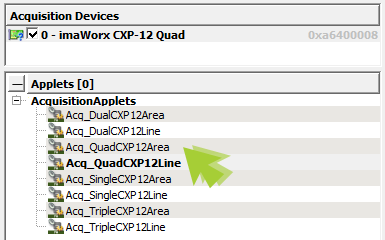
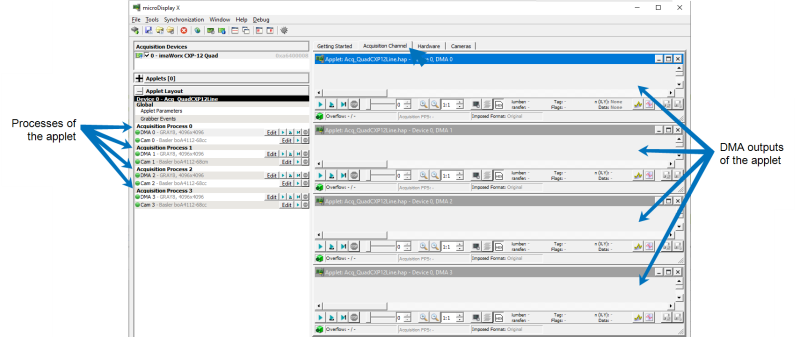
The applet is loaded. The acquisition processes of the applet (together with the respective camera and DMA ports) are displayed in the left-hand pane, and the DMA outputs are visible in the viewing pane (tab Acquisition Channel):
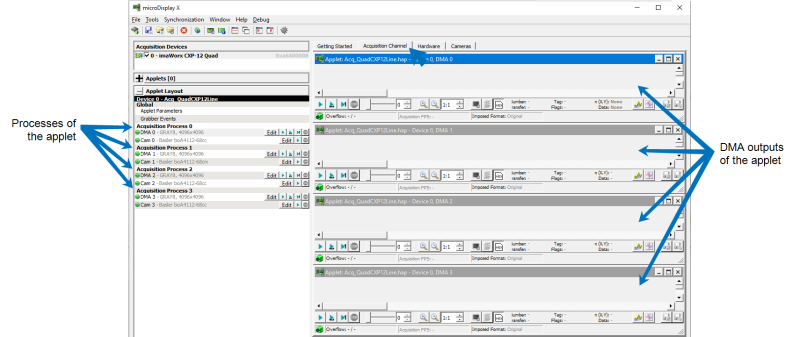
For each process defined in the applet, an according acquisition process with camera IN ports (Cam 0, Cam 1, …) and DMA OUT ports (DMA 0, DMA 1, …) is displayed.
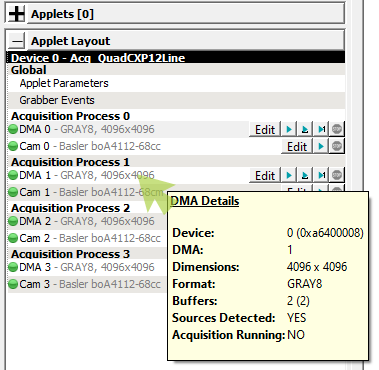
The tooltip of a DMA line (left-hand panel) informs you about the most important applet features and settings:
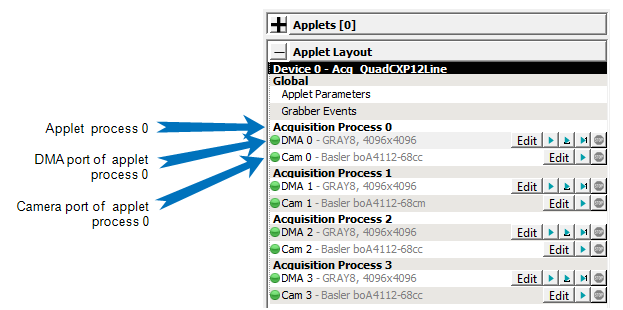
To connect another camera to a given applet process, click the Edit button in the Cam line and select the camera you want to connect. After this, the camera will show in the Cam line of the process and disappear from the Cam line of the process it was connected to before.
-
Make sure your cameras are connected and detected. A detected camera (image source) is marked green:
-
If no camera is detected, deactivate the Windows Fast Startup option as described by www.windowscentral.com.
Info
Instead of a camera, you can use the Camera Simulator as image source if you have no camera at hand. To do so:
- Click on the DMA line to configure the input source for a process (acquisition channel).
- Below, in the Parameter Selection pane, open the options for parameter Camera Simulator. Go to Image Source and from the value list, select Generator.
- The Cam line of the process should display a green disk now and display the information that an image generator is connected to the input of the acquisition channel.
-
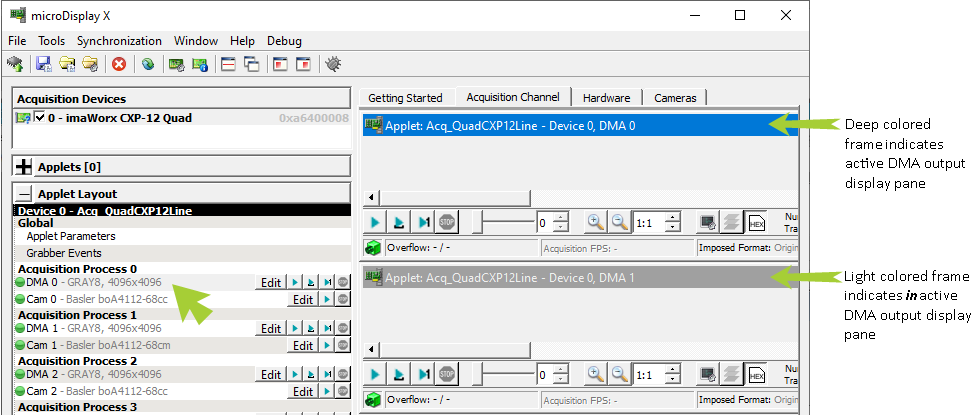
Click on the DMA line of the process you want to start. The corresponding DMA output display pane (tab Acquisition Channel) becomes active:
-
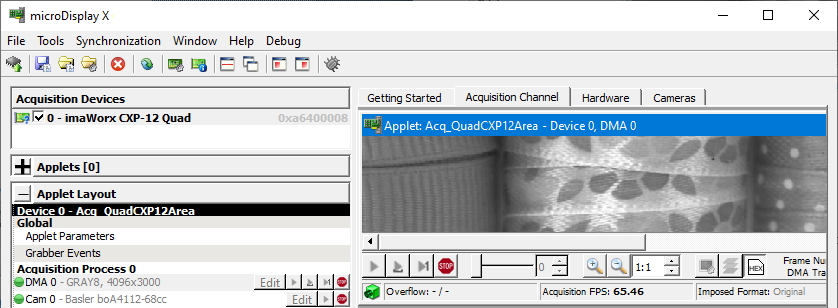
Click the Grab button to start acquisition.
If your system is correctly installed, the grabbed images are displayed in the corresponding DMA output display pane: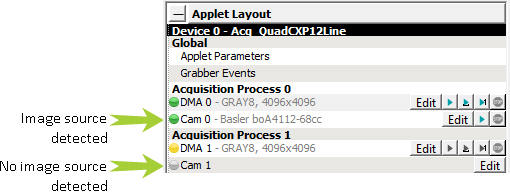
-
Use the Stop button to stop acquisition.
-
If necessary, you can configure the applet and the camera for the test. To do so, click on the DMA line. Set the applet parameters in the pane below:
Double-click or right-click on a parameter/value to get the list of available values or an input field.
-
To configure the camera parameters for a first system test, click on the Cam line. Set the camera parameters in the pane below:
To see all available parameters, set Visibility to Guru.
Alternatively, you can configure the camera settings as described in Configuring a Camera.