Configuring CXP Line Scan Cameras and Frame Grabbers Using the pylon Viewer#
For information about requirements and possible topologies, refer to General Information.
Installing the pylon Software Suite#
To install the pylon Software Suite for use with the Basler racer 2 camera:
- Download pylon Software Suite 7.5.0 or higher.
- Start the installer and follow the installation.
-
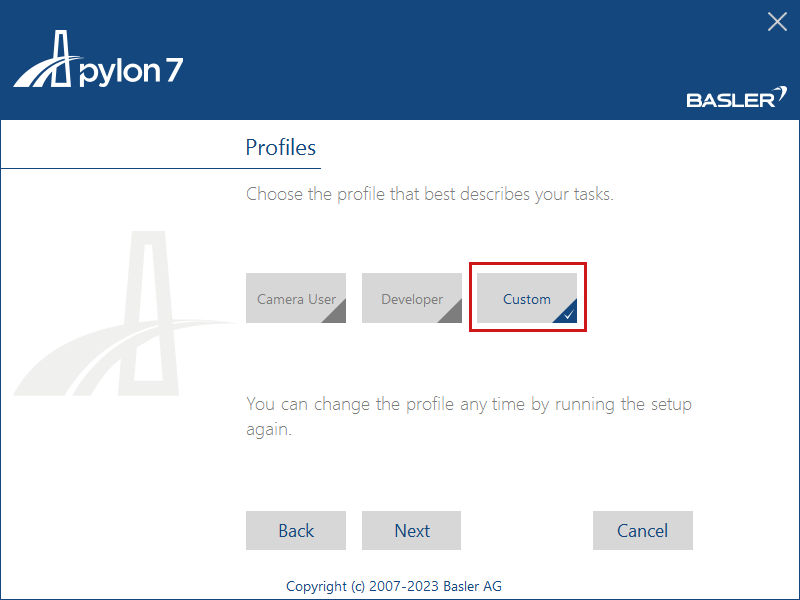
In the Profiles dialog, select Custom installation.
-
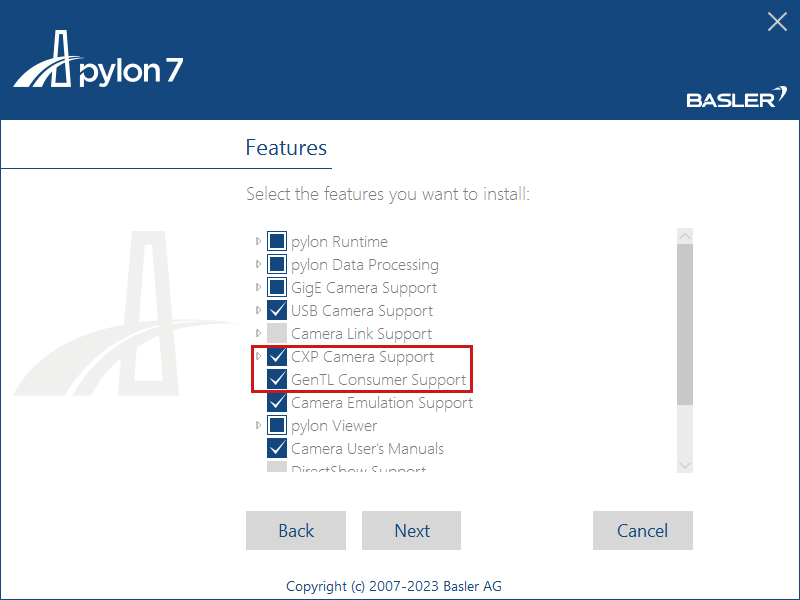
In the Features dialog, select CXP Camera Support and GenTL Consumer Support.
Configuring the Camera for Line Scan in the pylon Viewer#
For a first view of the images in the pylon Viewer:
- 启动 pylon Viewer。
-
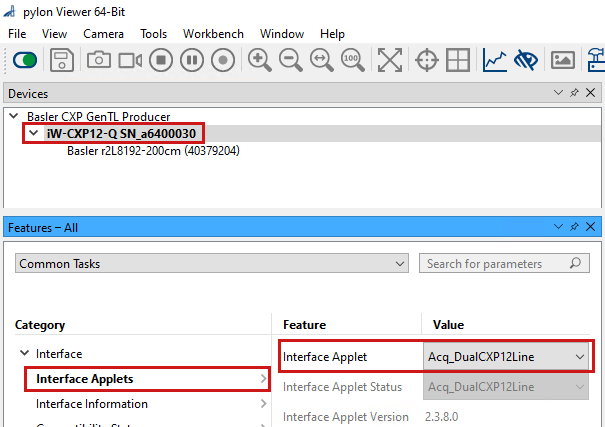
Load the required applet:
- Double-click the interface, i.e., the frame grabber or interface card.
- Select Interface Applet from the Category view and select your required applet. To choose the correct applet for your board and configuration, see Possible Topologies.
-
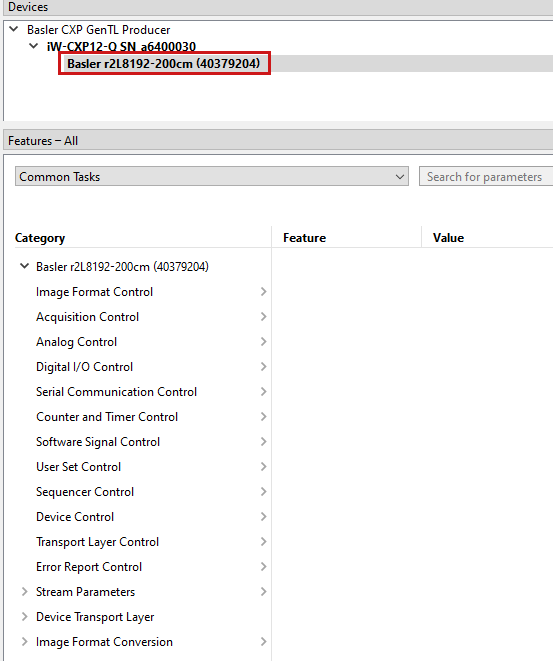
The frame grabber's FPGA is now configured with your applet. The pylon Viewer automatically detects the camera. Double-click your camera. The device tree opens showing parameters for camera and frame grabber configuration:
-
To configure the parameters, enable the Tree View. Otherwise, the parameters are all listed in the same category.
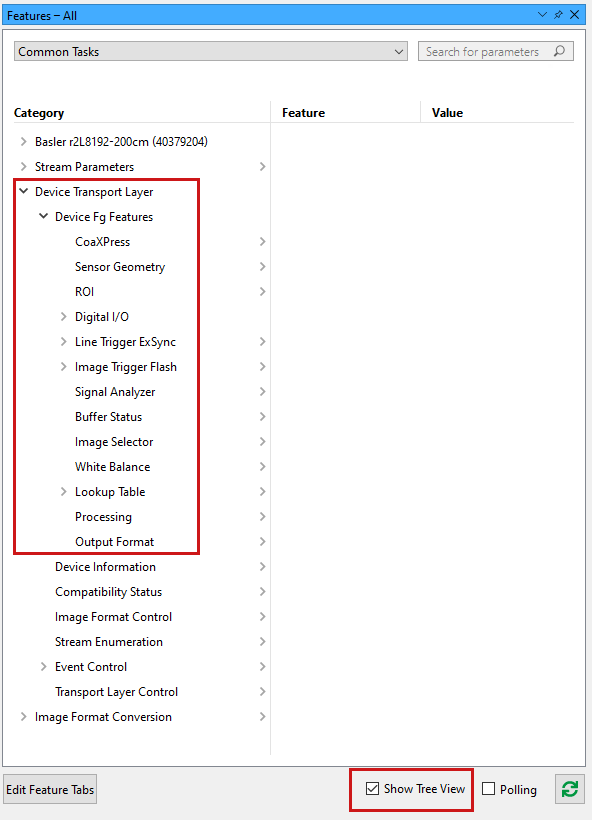
-
Select ROI from the Category view and configure the ROI Width and Height to your requirements. Note that the height is a defined number of camera lines merged into one output frame.
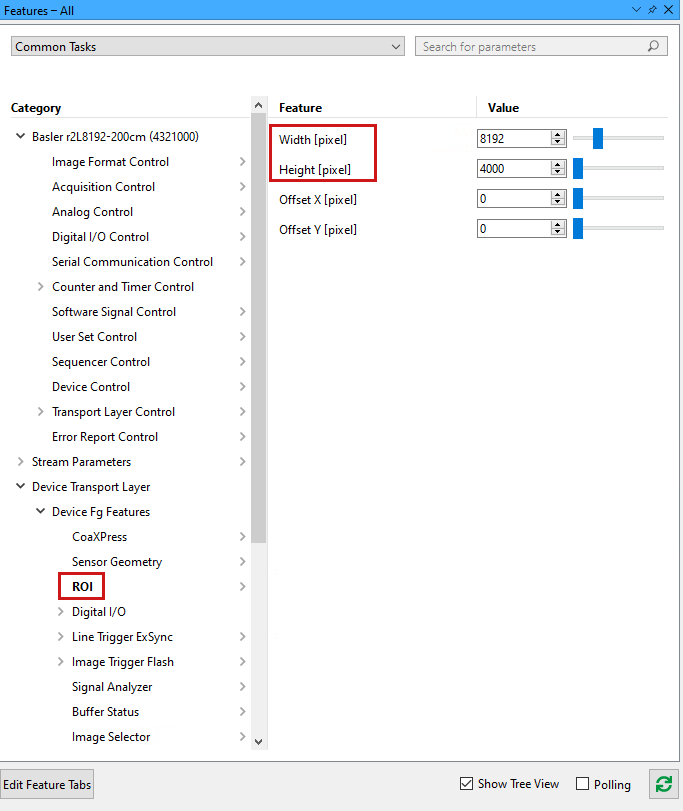
-
You can now acquire frames using the Continuous Shot acquisition mode
 or the Single Shot acquisition mode
  .
. - Configure the camera and frame grabber or interface card with your custom settings as desired.
- For information about trigger modes, see Triggered Image Acquisition or the knowledge article Configuring a Single-Ended Line Trigger with CXP-12 Interface Card and a Basler racer 2 CXP Camera.